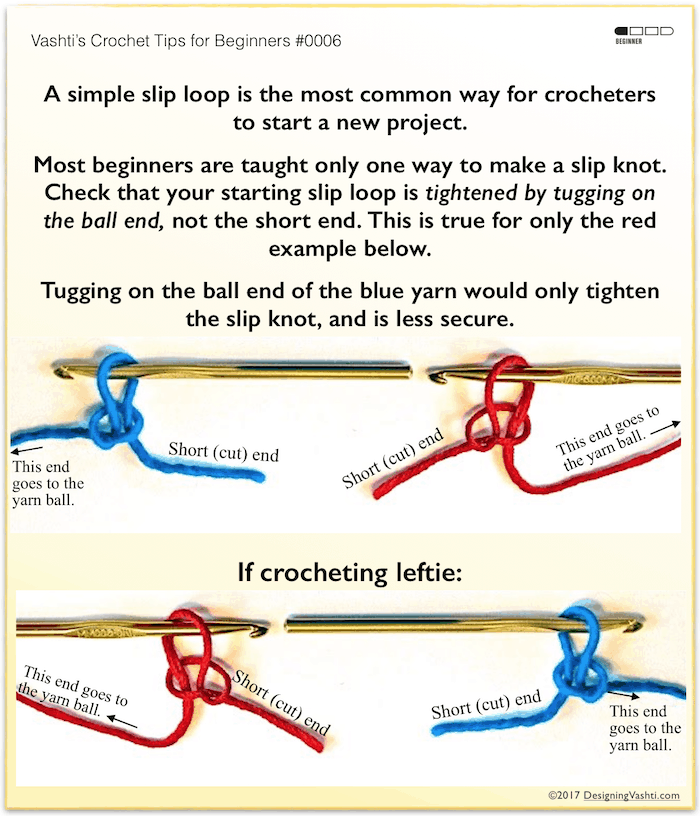
View above image full size.
I knew of only one kind of slip knot when I learned how to crochet at the age of nine. It’s a common, fast, useful, and easy knot. As I recall it was occasionally called a slip loop.
The simple slip knot we’re all taught when we first learn how to crochet can be made to be either adjustable (blue one in photo) or secure/locking (the red one). The only difference is which yarn end you use to make it.
Many years passed before I learned about these two versions of the same slip knot. (I discovered other kinds of slip knots a few years after that. More on those at the end of this post.)
It used to be that all of my slip knots were adjustable by accident. Now they are all secure on purpose!
Which Slip Knot Do You Make?
Tug on the short end of the yarn (a.k.a. the cut end or “tail”).
- If doing this tightens the loop, you made an adjustable slip knot.
- If you have to tug on the long or “ball end” (i.e. where the yarn that is attached to the skein) to tighten the loop, it is a locking slip knot.
The locking type is important because there’s no chance of it loosening and perhaps even unknotting over time under stress. A source of stress could be when the slip knot is part of a purse bottom, at the clasp end of heavy beaded jewelry, or—very commonly—at the center of afghan motifs.
The adjustable version could come in handy when you want to close up a center hole in one of the many methods of crocheting in the round. (Make sure a lot of stress won’t be put on it.)
Here’s how: If you work all stitches of the first round into one chain, you can then pull on the yarn tail to close up the center hole tightly. This is how I was taught to start granny squares in the 1970’s.
Be sure to leave a long enough end (more than four inches/10 cm) for weaving in securely so that it won’t loosen later.
If your adjustable slip knots have never loosened, great! Perhaps you have woven in a nice long yarn end to secure it; or used a non-slippery yarn, or a tight stitch gauge. Maybe your projects have not subjected the slip knots to a lot of stress.
Slip Knot How-To Video
This video demonstration (not mine) shows three ways to make a slip knot. The first two are just different ways to make an adjustable slip knot. Notice how she uses the short yarn end when completing the slip knot, and then tightens the loop around the hook by pulling the short end.
The third slip knot in the same video is the locking slip knot. Notice she uses the ball end (long yarn end) when completing the slip knot.
More Slip Knots?

Among non-crocheters, our simple slip knot may go by other names, such as Simple Noose Knot, Overhand Knot with Draw Loop, and Slipped Overhand (or Thumb) Knot.
Knot tyers have more slip knots that crocheters could use. After all, we really just need a simple loop to start crocheting. When we know more slip knots, we can choose one that offers advantages for the project we’re starting.
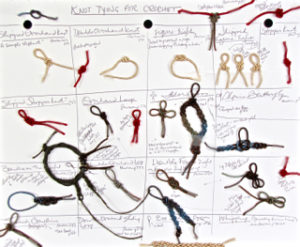
You can see some of the ones I tried at right. In another post I explained how to do a few of them and why you might want to.
