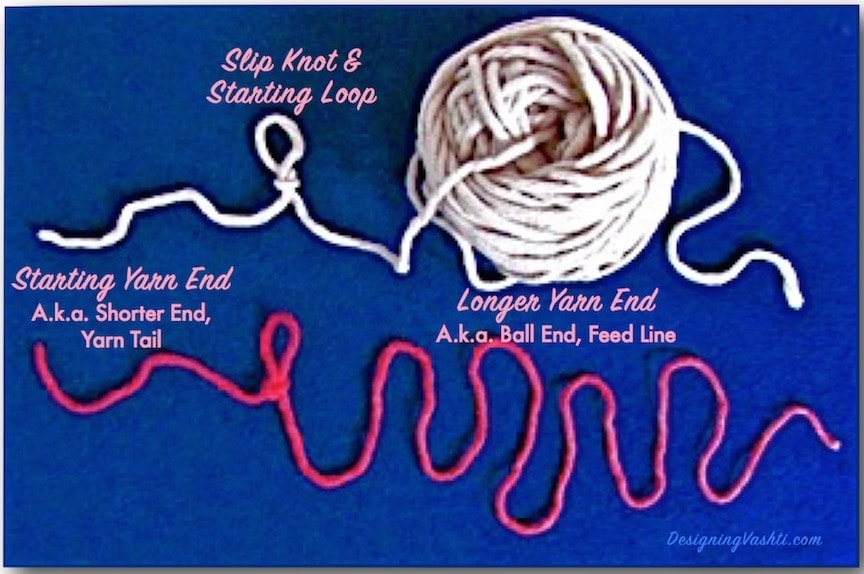
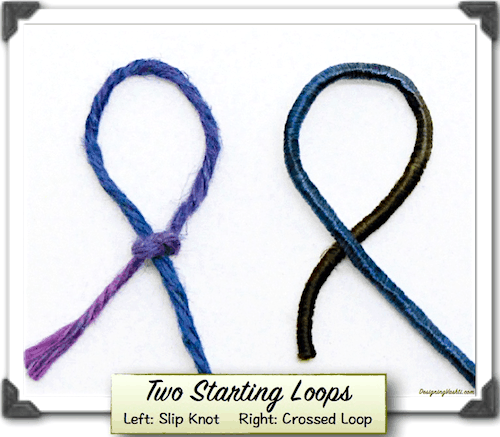
In the previous post I listed five decisions we’ve already made by the time we’ve made a starting slip knot in the yarn, and six options we have for doing more with the starting yarn end. Below I compare the advantages and disadvantages of different slip knots.
If you’re new to crochet, stick with the basic slip knot for now, and read on for future reference.
A Creative Start
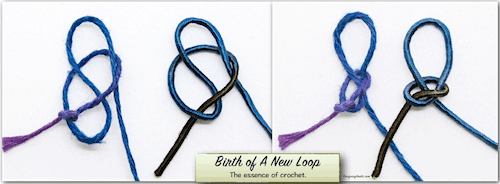
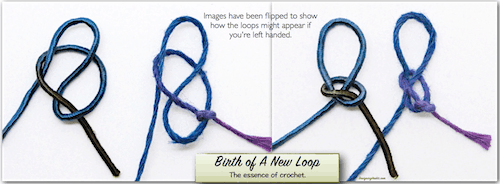
Crochet happens when a loop can be pulled through another loop. So much creative freedom in this!—including the very first step we take when starting a new crochet project. With options come new advantages.
Basic Slip Knot: Advantages
The role of the traditional beginner’s slip knot is to be:
- Invisible (ideally completely).
- Strong.
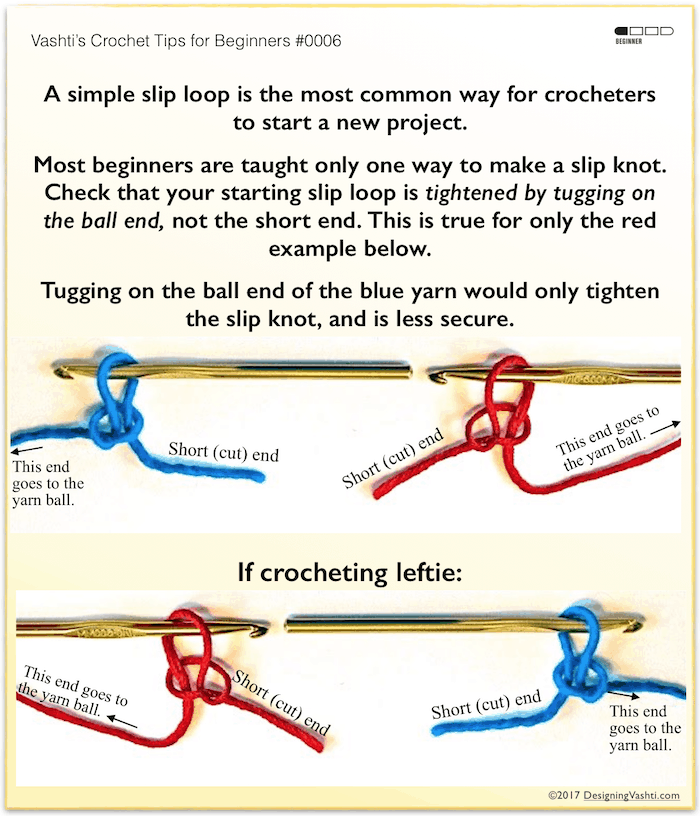
- Permanent (when made the right way).
- Simple and quick to make, remember, adjust, and use to start crocheting the first stitch.
- The slip loop blends in as a stitch: it forms the top two loops of the first chain stitch.
✅The beginner’s slip knot is a great choice for #1 through #5, with a few minor exceptions.
(Slight) Disadvantages
The basic slip knot is not truly invisible.
It’s usually invisible enough, but occasionally not in certain yarns and project types. The thicker the yarn, the bigger the knot when you start crocheting. A knot in the center of a motif, flower shape, or nose of a stuffed animal can make it more noticeable.
It’s not particularly pretty.
The basic slip knot adds no beauty or polish when it’s noticeable. For me it’s because it lacks symmetry. The yarn end doesn’t hang straight and centered from it. The knot itself is a bit lumpy (sort of like a tiny fist). It looks like what it is: a simple, common, serviceable knot.
It can loosen and unravel (due to user error).
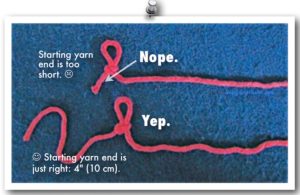
If the starting yarn end is clipped too short and/or the yarn is slippery, watch out. The knot could loosen and even unravel in certain projects (see example at right).
⚠️Beginners: this is why I go into detail about the starting yarn end and how to make the basic slip knot the best way.
Ever seen an old lace or granny square afghan with only the centers unraveled? It’s sad how common this is and how easily it could have been prevented.
Alternatives: Advantages
Given that…crochet is great for everything from delicate lace dresses to sturdy beach totes and slipper soles; from super strong pet leashes to artistic jewelry; from weightless shawls to heavy coats and afghans, and still more! —
And…that many crochet projects are actually “started” over and over, like granny square afghans (each granny square starts in its center), Irish crochet lace (separate shapes are assembled later), and intarsia (patterns of colors with varying lengths of yarn), —
Doesn’t it make sense that some crochet projects could benefit from specialized ways of starting them?
6. Pretty.
A clearly visible starting slip knot could be intentionally decorative. Imagine one that looks symmetrical and has a charming, fancy, or fascinating texture. It could also be functional. A dense and bulky one would serve as a stopper for a large-holed bead. (I’ve often needed a good knot for this purpose!) It could also add weight to the ends of fringe for a nicer drape. See my Buff Slip Knot.
7. Temporary.
Some crocheters and knitters have a blanket “no knots” policy. Temporary knots are easy. Just make your basic slip knot really loose so that you can undo it later. Or, crochet right into it as if it’s a foundation chain. This way, the knot makes it easy to start crocheting, but you’re not stuck with it permanently.
8. More than one starting loop.
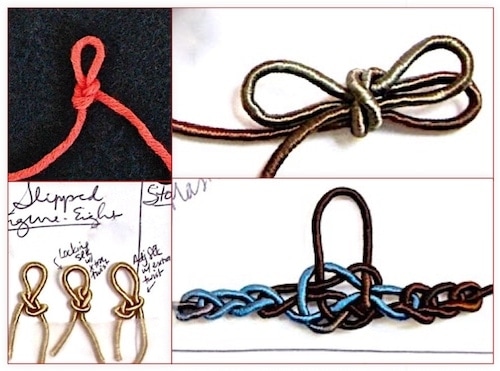
I keep discovering more uses for starting with more than one loop. Make a simple slip knot variation that produces two (or more) starting loops, then start crocheting with one of them. The remaining starting loop(s) can be used as a button loop or hanging loop for your finished project.
9. Reinforced strength.
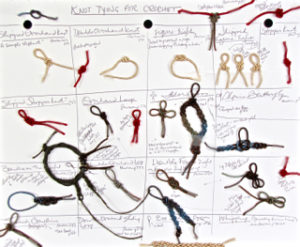
Add a twist or an extra wrap while making the basic slip knot reinforces its strength and security. I need this reinforcement when using extra slippery or wiry yarns and threads. See some in the first picture above.
10. Change the angle of the yarn ends.
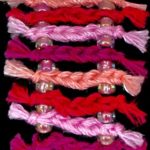
“Change the angle of the yarn ends” may sound odd, but for me it’s a new way of looking at starting knots. When my yarn end is visible as fringe, sometimes it’s noticeable to me that it doesn’t hang straight. This is because our basic slip knot causes the yarn end to hang at an angle. I’m currently looking for starting knots that cause the starting yarn end to hang differently. I like the Buff Slip Knot so far.
11. Attach to something with a starting loop.
I’ve needed a way to start crocheting while also neatly, elegantly attaching it to something when I’ve made: watchbands, a belt with a buckle, and certain pendants for necklaces. I’m currently looking for new favorite starting knots in this category.
A Note about Knots
Remember I mentioned that some crocheters and knitters have a NO KNOTS policy? Perhaps some of them mean tight knots. A tight knot can weaken the yarn over time. It’s also unsightly, intruding on a buttery, spongey look and hand.
I almost always use knots when I start crocheting, but I don’t pull them into tight hard lumps. I rely on reinforcement from a long woven-in yarn end more than on a knot if I can. It depends on each project. I’m especially careful in areas that will have to sustain strain and weight. That would be the shoulders of a sweater, the motif centers and seams of a blanket, the toes and heels of socks, a bag bottom and its handle attachments, and so on.
