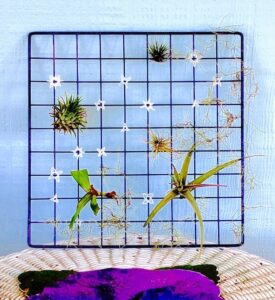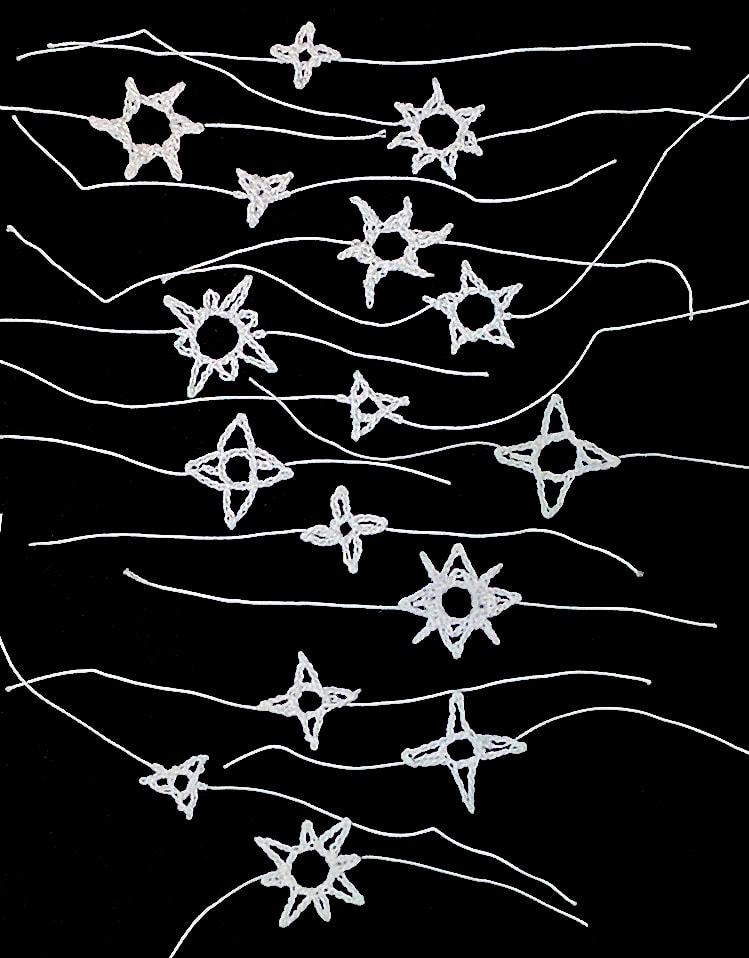
I have a fun summer crochet project to share. I’ve been bitten by the DIY wire mesh panel decor trend and have made several styles. Today’s focus is a cosmic one: wire mesh panel as Starry Firmament.

Shown above is a cosmic condominium for air plants, but it could just as easily be a photo memo board. Or see below for other decor ideas.
There’s a free crochet pattern for the stars below.
Wire mesh panels are not hard to come by at all. Not only are they easy to find, they’re a bargain: just a dollar or two for strong, durable, and very serviceable 14-inch {35.5 cm} square panels. In fact, they’re so low-priced and common that it costs more to ship them across the US than it does to buy new ones locally. Hence my problem.
I have stacks of them because they’re great for building show booths, like I’ve done at crochet conferences over the years. It only makes sense to keep them if I do show booths I can drive to. Some panels are getting a bit of surface rust here in the subtropics.


Most people would throw the panels away. I know because that’s the advice I’ve gotten. There’s a creative DIY decorating trend going on with wire mesh panels though! Why spend $15-$50 on one when you could spray paint it rose gold yourself? Or do like I did: add a constellation of stars?
Some wire mesh panel decor ideas I’ve found are: hang them over a desk to organize photos, memos, etc; string fairy lights into them and add a small shelf. Especially inspiring: sprinkle on some quirky air plants.
Crochet Pattern: Basic Firmament Star
I’ve used only the most elementary crochet stitches for this pattern. A new crocheter might struggle with it, though, if s/he isn’t accustomed to using very fine crochet thread yet.
Materials
I used a size #20 white crochet thread by DMC call Cordonnet Special. It’s on the stiff side because it has many plies that are highly twisted. This makes for crisp-looking stars that will hold their shape. If you can’t find it, Handy Hands Tatting make a cordonnet type called Lizbeth in many different sizes and colors. If you don’t have size #20, the next thinner/finer size, #30, seems to give me very similar results.
It doesn’t matter what steel crochet hook size you use. Choose the smallest size that still makes crocheting with the thread easy. For me it’s a size 1.25 mm in the brand I had at hand. For the thinner size #30 thread I needed a slightly smaller hook size. Psst, you might like what I wrote about steel crochet hook sizes!

Pattern
Leave the thread ends 4 inches {10 cm} long.
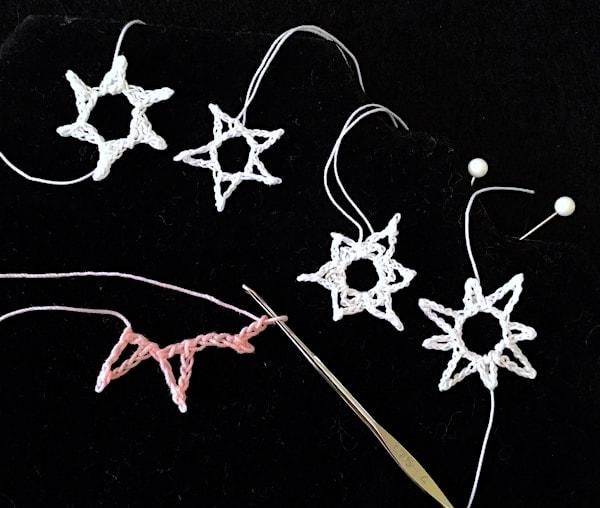
Make a slip knot and place the loop on your crochet hook. Chain 5, slip stitch in the second chain from your hook to make a tiny picot, chain 2 or 3, double crochet in the first chain of this spoke (the chain that’s nearest the slip knot). In the photo above, two pink spokes have been completed. *Chain 5, slip stitch in the second chain from your hook, chain 2 or 3, double crochet in the first chain of this spoke.* Repeat from * to * one or more times, depending on how many spokes you wish the star to have. Then slip stitch in the first stitch nearest the slip knot. Fasten off.
To vary the appearance:
- Use half double crochets in place of the double crochets.
- Add another stitch (a slip stitch, or single crochet) in the next chain after the picot, then chain one less before finishing the spoke with a tall stitch.
- Begin each spoke with 4 looser chains instead of 5 (then chain one less before finishing the spoke with a tall stitch). Or begin with more than 5 chains and add more chains after the picot.
To finish and use the star:
- With a fine needle, weave one of the ends to the opposite edge of the star. Notice in the photo above that the ends of the two outermost white stars are opposite each other while the middle two have ends coming from the same place of the star.
- Wet it, stretch, pinch the spokes, and allow to dry perfectly flat and as symmetrical as you can get it. Meanwhile prepare your wire mesh panel by sanding off rust if necessary, spraying with a primer and then a dark glossy blue. I then sprayed on a fine multicolored glitter too.)
- Tie each star onto a place where the grid wires intersect. Tie one direction and then the other tightly around the intersection. This keeps them stationary. Snip the ends close to the final knot on the back of the panel and apply a drop of glue to the knot.
- My one additional step was to spray a light coat of clear acrylic sealer onto the back of the panel. Mod Podge makes one that did not cause the stars to yellow, unlike a few other sealers I tested. Have a toothpick handy to smooth down the sealer where it shows on the stars (it will look hairy or like tiny dew drops in places). This helps keep them crisply starry.
- Now add air plants, or use those tiny wood clothespins to clip photos and things to it.
See more images of the Starry Firmament wire mesh panel decor at its Ravelry project page.

[…] a look at a creative way to repurpose the metal grid panels you see in the […]