Posted on 5 Comments

Tall Stitch Virtuosity Class Resources

Collage of many examples for Tall Stitch Virtuosity Crochet Class by Vashti Braha

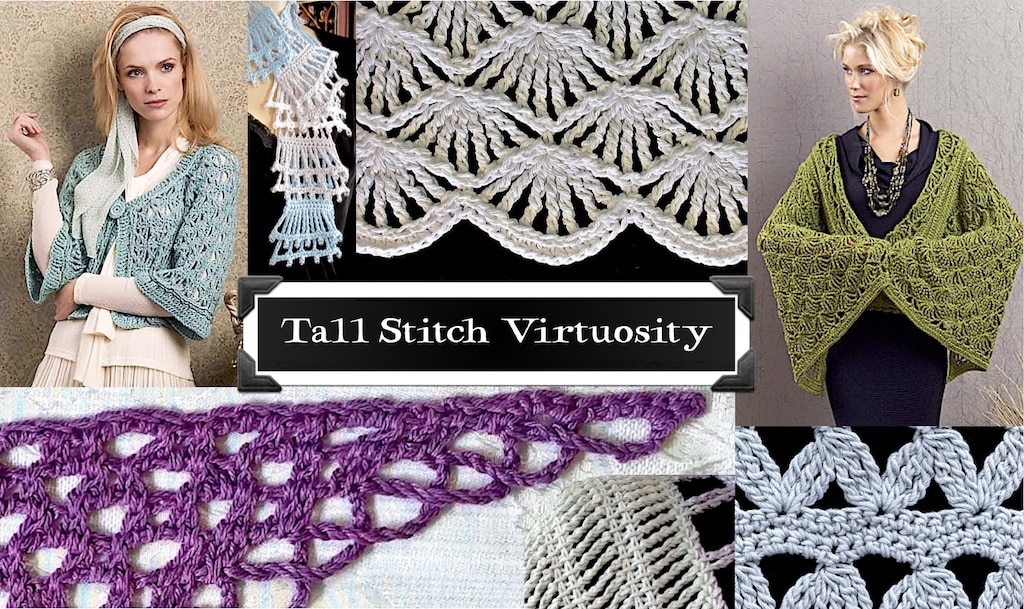
Tall Stitch Virtuosity is a new crochet class for 2020. I’ve discovered more than I imagined is possible about tall stitches! In fact, the official class graphic above is about six months old and already seems out of date.

Originally scheduled for the July 2020 Chain Link conference (an annual national event of the CGOA), Tall Stitch Virtuosity is now virtual. The traditional in-person conference is postponed until next summer. The virtual version is split into one-hour sessions over three consecutive days.

This is the first resource page I’ve created for a virtual class. At first I thought a virtual class wouldn’t need one. I started these pages back in 2012 to make online links easy to visit for an in-person event. I’m finding that I don’t want to load up the class handout (a PDF in this case) with what I think of as miscellany. Also, members might have a chance to visit this page over the three days of the class.

— Vashti Braha

Tall Stitch Virtuosity 2020

Nine tall stitch crochet experiments that I've posted recently in my Instagram feed.
Recent tall stitch swatches I’ve posted to my Instagram feed.

Newsletter Issues & Blog Posts

These are issues of my Crochet Inspirations Newsletter, and blog posts, spanning 2010 to today. Keep in mind that many links in pre-2018 newsletter issues are broken.

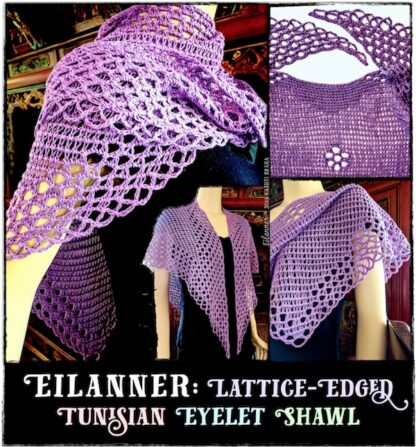
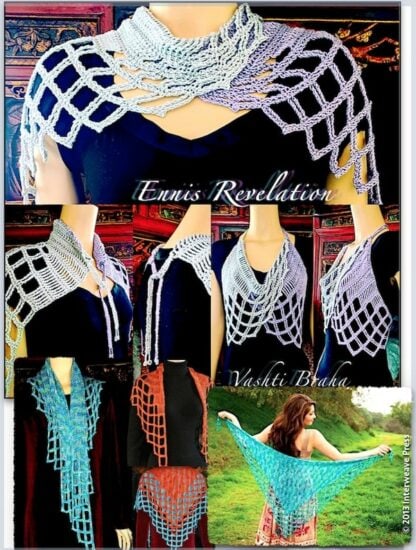
Tall Stitch Patterns

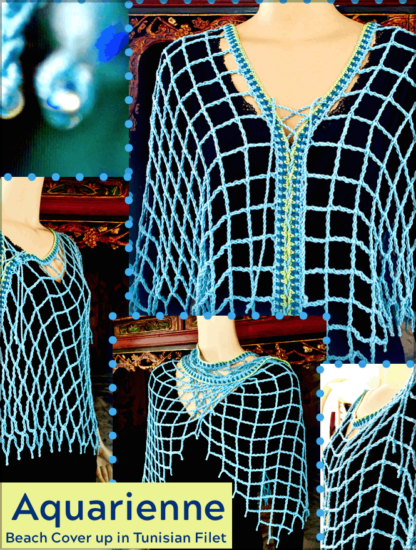
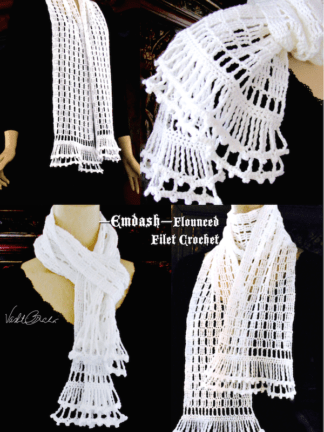
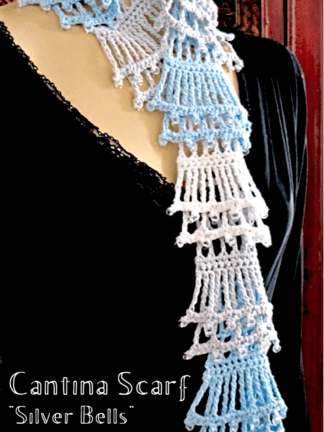
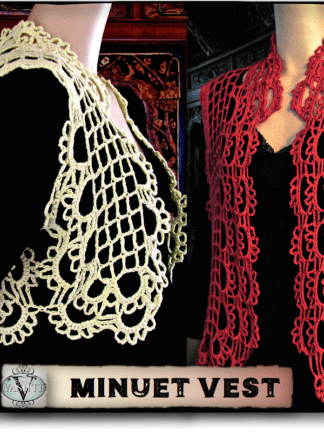
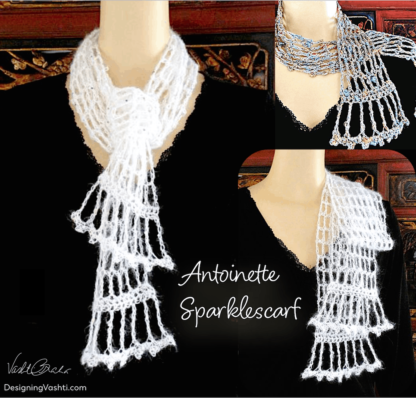
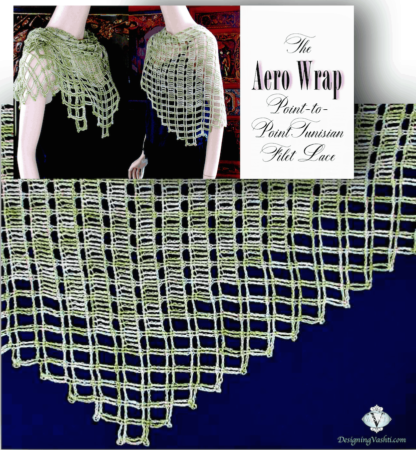
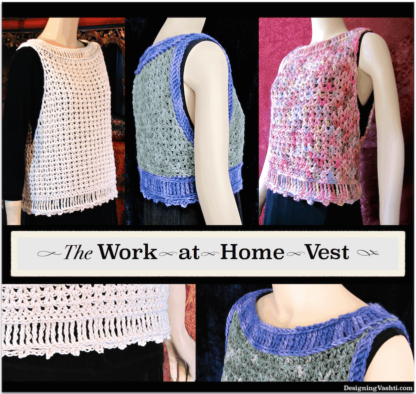
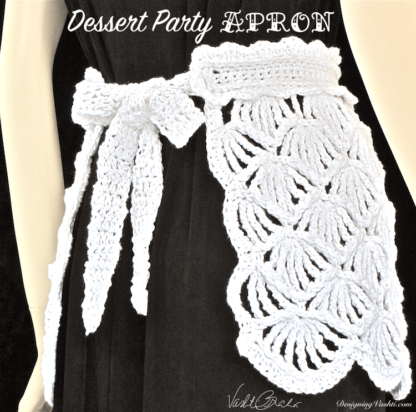
Some of my published tall stitch patterns over the years. Half of them are Tunisian crochet. Click an image for more info. Missing: Cats Eye Lariat (in Ravelry) and Twinkle Links.

Tall Stitch Projects & Swatches

Tall Stitches Around the World Web

  • Tall Crochet Stitch Artistry pinboard (Pinterest)
  • Bloggers on the lack of tall stitches:
    • Jenny Guldin: “Most lists of the basic crochet stitches end with the triple crochet. Call it a new technique, or call it breaking the rules: I’m tired of being limited to the height of a triple crochet, and I’m not going to take it anymore! Why isn’t there a taller stitch? I’ve received varying answers from many crocheters, but I’ve never heard the suggestion “try it”. There are two basic points of view I’ve heard about the subject: It doesn’t exist, or, there’s no purpose for it. With all due respect, I have two responses: I’ve made it exist, and there is a purpose.”
    • CrochetSpot’s Amy Yarbrough: “These stitches are not very well known today because most modern crochet patterns do not use them. This begs the question, when are they used then? Perhaps the most I have seen these taller stitches used would be in patterns with crochet thread. Such as Irish Crochet Lace, crocheted Antebellum Dolls, and crocheted Doilies.”

Issue 102: Wild Whys of Y-Stitches

Crochet Inspirations Newsletter sent to 8,600 subscribers on June 13, 2020.

Very tall stitches shown as 5 kinds of Y stitches for improving semicircle shapes
(Original header)

These semi-circles are crocheted of Y-shaped stitches. In each case I started with a quadruple-treble stitch (quad; in the UK and AUS I do believe it’s a quint). Yarn over 5x to begin one. After each completed quad I chained 2, then crocheted a shorter stitch into the side of the quad to turn it into a Y-stitch (Y-st).

I’m going to call the shorter stitch a branch that is crocheted into the taller one, or host stitch

The Y-sts in these semi-circles vary from very deep (farthest left one) to very shallow (upper right). The longest branch, a triple treble (I yarned over 4x to begin it), is crocheted close to the base of its host quad. The shortest branch is a half double (hdc in the US, htr in UK/AUS). I crocheted it up close to the top of the quad.

Don’t you love how the lacy look changes just from this simple difference?

I also really love how Y-sts look when they radiate from a center. It’s what lured me down a rabbit hole of new delights.

Every stitch you see in this newsletter is my own new stuff.

Four tall stitch circles with new looks thanks to the branches you can add to the sides of them

Branched? “Rune” Stitches?

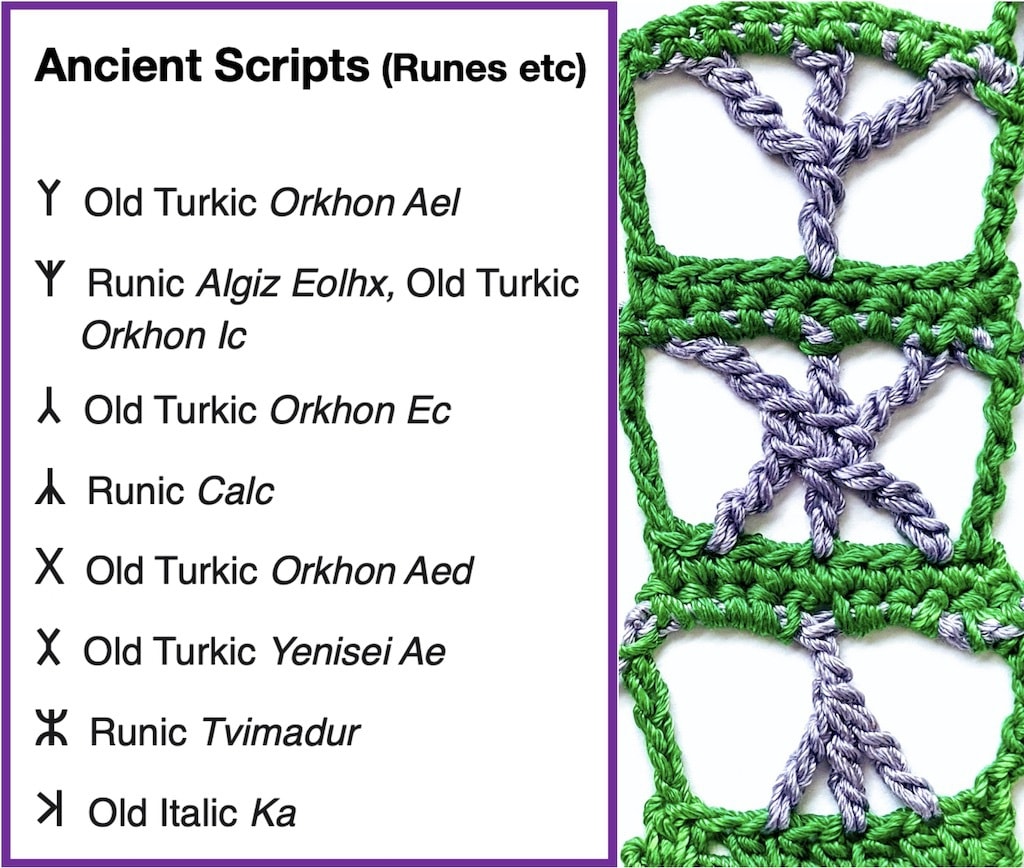
I searched 34 crochet books for these stitches (16 are stitch dictionaries and the rest are guides to crocheting). Of the 34, 14 at least mention X-stitches. Very few include Y’s and inverted Y’s, or really run with with any of them. 

When I think of “Y-stitches” I picture a category of stitches that remind me of runes and ancient symbols! 

Bend a tall stitch or two to form letter shapes

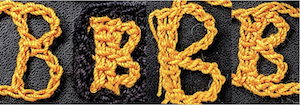
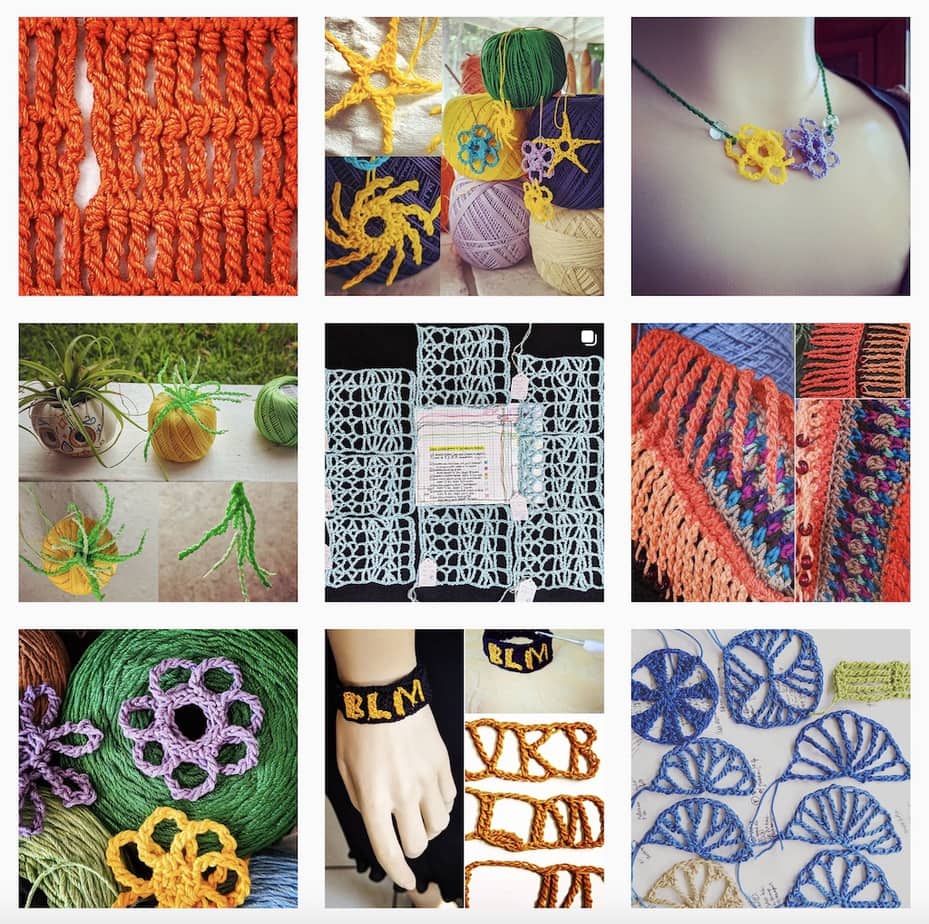
The list above is about half of some old letters I’d like to try crocheting with branchy tall stitches. See my swatch of a few modern letters in Instagram. (These crazy B’s are for Braha and for Black, as in Black lives matter, and for Because of course they do.)

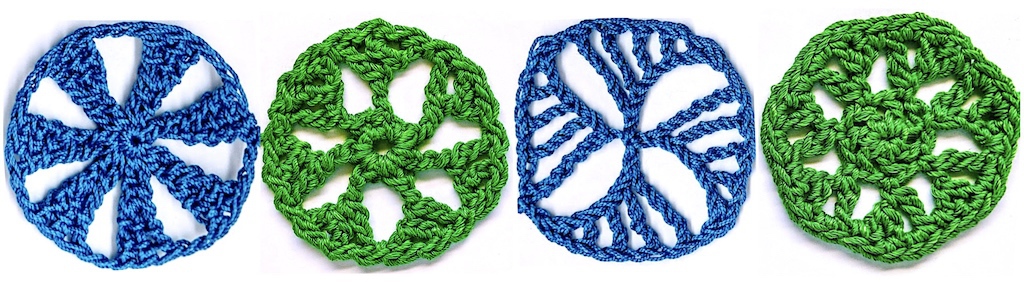
The first blue wheel above was inspired by ancient wedge-shaped cuneiform strokes. I see the green motifs as being Druidic wheels of seven “trees”. In fact, lately I see Y-stitches all over the place in nature!

Key Y-Thinkers

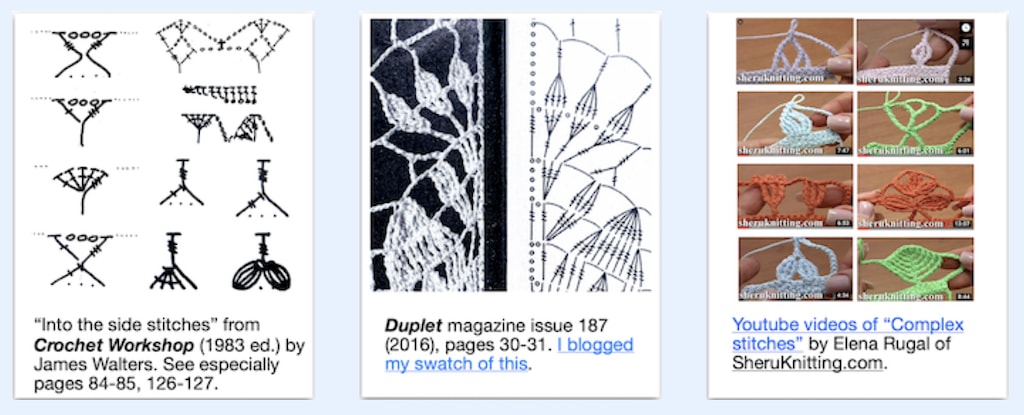
My three favorite sources on these stitches: James Walters, Duplet magazines (Irene Duplet), and Sheruknitting videos (Elena Rugal). It’s not a stitch shape. It’s a way of thinkingThank you so much James, Irene, and Elena!

Examples of tall stitch artistry by James Walters, Irene Duplet, Elena Rugal

How To?

I need to blog that. I have ideas for how to sort out the yarn overs, and make the most of them for motifs. Until then, I mention Y-stitches with a how-to link in my tall-stitch circles blog post. Also try some Sheruknitting videos. 

Can you spot the Y-sts? And X-sts in the upper-right blue circle? Y’s are fabulous for reducing the number of tall stitches in round one AND for suavely doubling every stitch as required in round two.

Using tall stitches for circles is how I got here. I had no idea how practical and problem-solving Y-sts could be for crocheting circles—the taller, the better. They offer creative solutions and pretty options for tall-stitch circle crocheting!

OK One More Y-Why for Today:

Convert Two Rows into One

[This section got its own blog post a few weeks later; the light green swatch referred to is also pictured there.]

Sometimes, two or even three rows of a stitch pattern can be turned into one row, using using taller into-the-side stitches. Here’s a two-row shell-and-cluster stitch pattern (upper swatch) turned into one-row one lower swatch). 

You can get more stitches to face the front this way. It also removes a “grid” effect caused by the connections between every stitch across a row. It fits in the “clever substitutions” category which is the topic of newsletter #92.

That grid effect adds structure to the fabric. Removing them adds more drape. So it depends on the yarn and project.


Posted on 1 Comment

Crochet Bunnies Flat or Puffy

2 flat crocheted bunnies (sihouette), 2 stuffed ones, in different slip stitch crochet textures.

This past month I used Tunisian and slip stitches to crochet bunnies flat, rather than in the round. Make two, seam together, and stuff for 3D bunnies. Leave flat for appliqué!

Compare all the shapes in the photo above and below: there are some side-view silhouettes (the yellow wool bunnies) plus several marshmallow candy style bunnies in light blue Lotus yarn.

Two are stuffed, but all started out flat. The stuffed white wool bunny (above far right) uses the square method: I crocheted a flat square of inverse slip stitches, and then seamed and stuffed it. (I followed this tutorial for a knitted square bunny.)

Five marshmallow-candy-shape bunnies lined up from shortest (3 slip stitch) to tallest (2 Tunisian crochet)
From left to right: Three slip stitch bunnies (front-loop slip; inverted back loop; inverted front loop). Two Tunisian crochet bunnies, flat: TSS (simple stitch), TKS (knit stitch). I also added a simple slip stitch outline to all bunnies except the TSS one.

My informal and rather obsessive online research tells me that 95% of all the crochet amigurumi (stuffed toys) are single crochet stitches in the round. The other 5% are single crochet flat, in rows. It’s easy to know which were crocheted in rows because the texture is very different from rounds with no turning. Crochet designers Donna & Michaelene rock the flat method with single crochet.

Internal or External Shaping?

5 slip stitch roses of different colors and petal shapes
Slip Stitches are fabulous
for shaping flower petals

When you crochet bunnies flat, all the shaping happens at the beginning and/or end of a row; never in the middle of a row. This is external shaping. I’ve liked this kind of crochet ever since I swatched lots of shaping techniques for my Slip Stitch Shapes and Special FX class.

External shaping should be an elementary challenge, but it depends on the stitch and the shape. Each row might be different from the rest. I bet crocheters rarely do it constantly for a whole project, though. See my free heart pattern. It’s an easier shape than a bunny because you’re adding or subtracting no more than two stitches at a time.

New to external shaping in every row? Use the short stitch you’re most familiar with: single crochet (sc), slip stitch (sl st), or Tunisian simple stitch (TSS). You need to be able to easily count your rows and stitches. For most people it’s single crochet.

Crocheting any shape in the round (other than a straight tube) requires internal shaping. It kind of depends on the crocheter how basic that is. It’s probably easier for those who started early on with granny squares, flowers, and other motifs in the round.

Slip Stitches, or Tunisian Crochet?

I found no examples of TSS or sl st crochet bunnies, flat or otherwise, except this sweet one in Tunisian knit stitch (TKS). (You’ll need a Ravelry account to view it). I decided to do side by side bunny comparisons. Yes, I went down a rabbit hole.

Surprising Differences

I used the same chart size for each blue bunny. The Tunisian bunnies are much bigger! After making several sl st bunnies, the forward and return passes of Tunisian felt like double the work for the same bunny. Compared to sl st fabric, the return pass seemed to add padding and height to the stitches. The TKS one also feels heavy. It has so much more yarn in it than the others.

Two flat crochet bunnies and a stuffed one, all "marshmallow peeps style" in light blue Lotus yarn
Three slip stitch amigos. See more in progress
on their project page.

Of the three blue sl st bunnies, the inverse front loop one (far right) has the most height. I used it for two bunnies in the first photo above too: the smaller yellow silhouette, and the white bunny from a square.

TSS is similar to using sc. Besides being of similar height, it’s easy to count rows, especially the TSS rows. Both prevent stuffing from showing through (so does sl st). Unlike sc and sl st, Tunisian stitches do lean, but more weakly than it appears. The lean readily blocks out.

Tunisian crochet has a few strong advantages over sc and sl st. There is no turning, so following a charted shape is the easiest. Another big advantage is when edging the shape. I like to edge flat shapes with a round of slip stitches before I seam them together. Crocheting into Tunisian row ends is a joy. “Joy” isn’t the word that comes to mind when crocheting into row ends of sc or sl st.

Happy Easter 2020 everyone!

Posted on 73 Comments

Delicate Crochet Book Giveaway

Update: I’m so inspired by your comments! Your comment may take a few hours to show because they go into a moderation queue. 

I’m giving away a copy of the new Delicate Crochet book by Sharon Silverman to a randomly chosen commenter on this post. You’re welcome to enter even if you live outside of the USA. If you win and you have a non-USA shipping address, you’ll receive a free downloadable crochet pattern of your choice instead. Scroll down for the book giveaway details.


Pattern Riffing

Over the holidays I “riffed” on the patterns I wrote for Delicate Crochet. I’ll explain how, in case you have (OR WIN!!) this book and want to riff too.

Meet Zegue

Tunisian ripple stitch Ziggy Vest with its variation Zegue
Zegue (left) with Delicate Crochet’s Ziggy Vest on the right.

Zegue is a simple wrap version of the Ziggy Vest. I used up scraps of fancy yarns in my stash. In Ziggy’s case the armholes are cut into the self-healing stitch pattern. I omitted that step for Zegue. (I could still add a hole later, such as for a one-sleeve wrap, or for a keyhole scarf style like I did for the pink Mesmer. Or go with my original idea: add a seam at each end of the long sides to create tubes (sleeves) for a shrug.)

Yarn: I had one small ball each of the four Stacy Charles Fine fashion yarns I used. (See Zegue’s project page in Ravelry for the yarn facts.) One of them has sequins so I had to use it. Using a mix of yarns for the Ziggy stitch pattern was really fun! I’ve always wanted to do a stripy scrappy ripple, especially in Tunisian stitches.

Crochet Hook: I used the 7.0 mm Addi Tunisian crochet hook from my shop; the Ziggy Vest calls for a 6.0 mm size. A 6.5 mm for Zegue would probably be just as lacy though you might need a few more rows and additional stitch repeat or two.

Finished Dimensions: 14″ x 57″ (35.6 x 144.8 cm), measured flat and blocked. I like wearing it as a wrap. For a shrug option I might add buttons. It weighs 71 g. and I had about a quarter of the Luna mohair and Crystal left over.

I chose the length of each row to match the length from my wrist over the shoulders and across the back to the other wrist while my arms hang at my sides—an easy measurement (57″/144.8 cm). This is because I thought I was going to turn it into a shrug. I just kept adding rows until my forearm would fit through the sleeve tube if I seamed part of the first and last row together; I’d need a minimum of about 9″ (22.9 cm). I figured the yarn amount would get me at least this far.

Foundation and Row Repeats: You’ll need the Delicate Crochet book for the actual Ziggy pattern (starts on page 140). Here are my changes for Zegue:

  • I chained 178 with Color A (Stella).
  • Row 1 forward pass (FP) is also Stella, and then I changed to Color B (Luna) for the return pass (RP) and the Row 2 FP. Fasten off every time you change yarns.
  • Row 2 RP and Row 3 FP: Change to Color C (Céline).
  • Row 3 RP and Row 4 FP: Change to Color B (Luna).
  • Row 4 RP and Row 5 FP: Change to Colors C+D (Céline & Crystal held together).
  • Repeat the color sequence of B, C, B, C+D for a total of 16 rows; for Row 16 RP change to Stella. Complete Row 17 FP and RP with Stella and then fasten off.
  • Edge Row 17 with a strand of Luna and Crystal held together: Single crochet (sc) in first FP stitch, chain 1, slip stitch (ss) in same sc, sc in same stitch, *chain (ch) 1, sc in next FP stitch, ch 1, sc in next stitch group, ch 1, sc in next FP stitch, [sc, ch 1, ss in same sc, sc] in next FP stitch, repeat from * in each remaining FP stitch of row. Fasten off.
  • Attach Stella to first foundation ch. Working along the other side of the foundation, sc in first ch, ch 1 and skip next ch that was not used by a FP stitch, sc in available loop of next used foundation ch, repeat from * in each remaining stitch of row. Fasten off.
  • Attach Luna and Crystal to first sc of Stella. Edge this row the same way you edged Row 17.

Yvelino the Paneled Ring Scarf

Icelandic wool ring scarf vs DesigningVashti Lotus wrap of Bias-crocheted Tunisian net, surface-crocheted with love knots.
Yvelino Ring (left) with Delicate Crochet‘s Yveline Wrap on the right.


For this version of the Yveline Wrap I used four colors of lace weight Icelandic wool, one ball per color. See its project page for the yarn deets. I loved this yarn; it’s very “sticky” and almost bristly or wiry in a way that works great with this airy bias-worked net.

Crochet Hooks: 5.0 mm (H) Tunisian hook; for the surface-crochet I used a regular 3.5 mm (E) crochet hook.

Finished Dimensions: 13″ wide with a 58″ circumference (33 x 147.3 cm). It weighs 100 g. so I used only half of each ball. (I thought I might want to add a lot of surface crochet, so I reserved yarn for that.) Instead, I like the texture contrast zones.

Foundation and Row Repeats: You’ll need the Delicate Crochet book (starting on page 133) for the actual Yveline pattern. Here are my changes for Yvelino:

  • Chain 58 in Color A. Complete 33 rows. Edge the last row with sc.
  • Slip stitch Color B to the bottom right corner foundation chain of the previous panel. Chain 58. At the end of the Row 1 FP, slip stitch in the first FP stitch of Row 1 of the previous panel and then complete the RP as usual.
  • Repeat this join-as-you-go process at the end of every FP until you’ve completed 33 rows. Edge it with sc like the previous panel.
  • Repeat the above with two more panels. For the last panel, also join-as-you-go the first FP stitch of each row to the last FP stitch of the first panel you completed to create a ring. (Or you could seam the first and last panel sides together to for the ring as a separate step.)

Adding the Frills: The only thing different from the book is that I used a 3.5 mm (E) crochet hook, and surface crocheted a column on each side of the joins.

Oh the Resources Buried in Crochet Patterns

I hold onto lots of crochet pattern books and “mine” them for interesting stitch patterns (love those stitch symbols!), shapes (love those schematics!), and construction methods (love the rare assembly diagram!).

The stitch texture combinationscolor contrasts, or styling ideas in pattern books are also inspiring.

Ravelry takes this into account so I know I’m not the only one who uses books this way. (When creating a new project page, there used to be a box you checked if you improvised from an existing pattern. Now you can choose additional patterns if you’ve incorporated elements from them.)

Delicate Crochet offers hours and hours of riffing on its interesting stitch patterns, shapes, and styles, thanks to the range of designers represented—and thanks to all the stitch diagrams and schematics.

Book Giveaway Details!

You could win this! Delicate Crochet by Sharon Silverman with 23 patterns by 10 designers.
  • I’ll use a random number generator no earlier than February 18 (Monday, President’s Day) to choose from among the commenters to this post.
  • There may be two winners: one with a shipping address outside of the USA as well as within it. If the first winner has a non-USA shipping address, the prize will be a free downloadable crochet pattern (winner’s choice). I will then draw a new number randomly until the new winner has a USA address to which I can ship the book.
  • To contact the winner(s) I will do these three things: comment on your comment with the news, and announce the winner’s name (as it appears on your comment) in my Ravelry group, and at my Facebook page. I suggest you opt-in to receive alerts of responses to your comment in case you’re a winner.
  • Your comment may respond to my question, “What crochet book would you like me to write?” (as explained in my newsletter #97), or at least be crochet-related. I reserve the right to remove spammy comments as always.
  • Commenting more than once does not improve your chance of winning.
Posted on Leave a comment

Stitch Pattern Spin-Offs from Eilanner

A "spin-off" stitch pattern from Eilanner design, here tested in tencel thread and draped on a mannequin
This is the gauge swatch from the new Eilanner Shawl pattern, but I used tencel thread and a giant hook for kicks. So airy! It inspired me to try draping it on a mannequin different ways. View full size.


I released a new Tunisian crochet pattern the other day. There’s a lot going on in it! I think of the design as containing modules of mini-patterns. Some of them hint at new stitch patterns.

Seeds of New Stitch Patterns

Often if you change one thing about a stitch pattern you can get a whole new effect that’s cool enough to count as a new stitch pattern. (This would be a good newsletter issue, come to think of it…) Here are some I swatched while Eilanner was being edited, and the things I changed to generate them. I posted them to Instagram.

Change the Yarn and/or Gauge

An obvious way to get a new effect with a stitch pattern is to use a dramatically different crochet hook size, or yarn thickness/fiber type, or all of these (as in that first image above). Super summery look! Reminds me of tall grasses.

There’s something else going on with it too: it’s really just a gauge swatch pattern. The skill level for Eilanner is Experienced. Getting the exact gauge is not important for the pattern but I thought it would help some crocheters to focus on just the main stitch pattern without the fancy edging at both row ends and the constant increasing.

Know what else started out as “just a gauge swatch”? Fish Lips Scarf-to-Shrug!

By the way, if you’re interested in Eilanner but worry it’s too challenging, work up to it with its predecessors. Shakti is like “Eilanner 101” and Islander is “Eilanner 102”. (I named Eilanner after Islander.)

Repeat a Special Stitch Group All Over

Another way to do a stitch pattern spin-off is take a stitch group and repeat that. Here’s Eilanner’s “tattoo flower” eyelet group repeated as an all-over motif.

This right here is a fraction of the possible new stitch patterns to generate this way! For example, the eyelets could be grouped differently, or stacked in columns instead of spread out in an alternating way. Moving eyelets around is an art form in itself.

I haven’t even tried sprinkling in stitch texture contrasts. Have a look at what happened when I added a similar stitch texture: love knots!

I woke up this morning with another idea for a stitch pattern that will probably show up in Instagram once I swatch it up. (The way Instagram displays images helps me contemplate designs.)

Isolate One Key Stitch

Not every stitch pattern has a key stitch to isolate. Eilanner does, though: the shallow-extended stitch I blogged about last week. The swatch below is pretty rustic and it’s not easy to see what is different about the stitch, but have a look.

It’s kind of loose so that I can see what the stitch texture is doing. I chose Icelandic wool for this because I love that the shallow-extended stitch is like a reversible and non-curling version of Tunisian Knit stitch.

If you like seeing my experimental swatches, follow me in Instagram where I tend to post them first. And please tell me what you like or don’t about them! It inspires designs and class topics.

Posted on 1 Comment

V-O-T-E Early and Often with Crochet

Crocheted letters V-O-T-E against sunrise-colored crochet background
View the image above full size.

Last week I used a new Tunisian crochet stitch to swatch up a few letters of the alphabet. You can see four of the letters above. (The background is something I crocheted for the kitchen years ago.) Just look at what I can spell! I also made an ‘L’ to spell LOVE. I’ll explain how to do the cool Tunisian stitch below.

Eight-Color Poster

Tunisian crochet letters spell V-O-T-E against a rainbow aran crochet background.
It came out to approx. 12″ x 14″. View full size in Ravelry.

I’m working on a newsletter issue (#95!) about COLOR. It gave me the idea to crochet a “poster” background for the letters using as many of my Lotus yarn colors as possible.

Does the stitch pattern of the background look familiar? Maybe not—it’s rarely done with color changes. (Not sure I’ve ever seen it in more than one color. I think it’s traditionally thought of as an Aran crochet texture in off-white wool.)

I used this stitch pattern for the Chainmaille scarf, in just one color. The shiny alpaca-tencel yarn gives it a very different look!

Chainmaille: Free for October

Add the Chainmaille pattern to your cart then use the code free-poster-stitch.

For the poster, just use four pattern repeats of the Chainmaille scarf. For the flatter middle section where the letters go, I did the [ch 1, skip next ch-space, sc] part of the stitch pattern across each row for about 18 rows, then resumed the Chainmaille pattern again. Use a shallow single crochet instead of a regular single crochet if you know how. (Keeps the background a bit denser.)

 The Tunisian Stitch I’m Excited About!

I don’t know what else to call it but a shallow extended knit stitch.

First you must do a row of Tunisian Extended Stitch (ExtTSS or as I much prefer to call it, TES). It’s how you crochet the next row into them that turns them into shallow extended knit stitches.

For the alphabet letters I did just one row of TES into the foundation chains: skip the chain nearest your hook, insert your hook under the bump loop of the next chain, yarn over and pull up loop; at this point you’d leave it on your hook for a TSS. Chain 1 and it becomes a TES. To continue, [insert hook under the bump loop of the next chain, yarn over and pull up loop, chain 1] in each remaining chain of the row.

Standard return pass: chain 1, then [yarn over and pull through next two loops on hook] until one loop remains on the hook.

Have a look at your TES row. Compare them to TSS. The chain-1 you added to each TSS doubles its height and adds a horizontal loop on the back of the stitch. See it? See how it resembles the horizontal loop on the back of a single crochet stitch? (See this blog post about that “third loop”.)

Close up of how to crochet a shallow Tunisian extended knit stitch.
This is the front of an extended Tunisian stitch. (This one is an extended knit stitch: a TEKS.) If your hook went where the red arrow points—between the front and back vertical bars—you’d make a TEKS. Insert the hook where the yellow arrow points and it becomes a SHALLOW TEKS.

To do a row of shallow extended knit stitch: chain 1 to begin the row (count as first stitch), *insert hook knitwise (between the front and back vertical bars) and under the lower horizontal “bump” loop (as seen on the back) of the next stitch, yarn over and pull up a loop, chain 1. Repeat from * in each remaining stitch of the row.

Return pass is the same.

As with all occasions when you’re crocheting shallow stitches, the looser your gauge is, the easier it is to pick up speed crocheting them.